Introduction
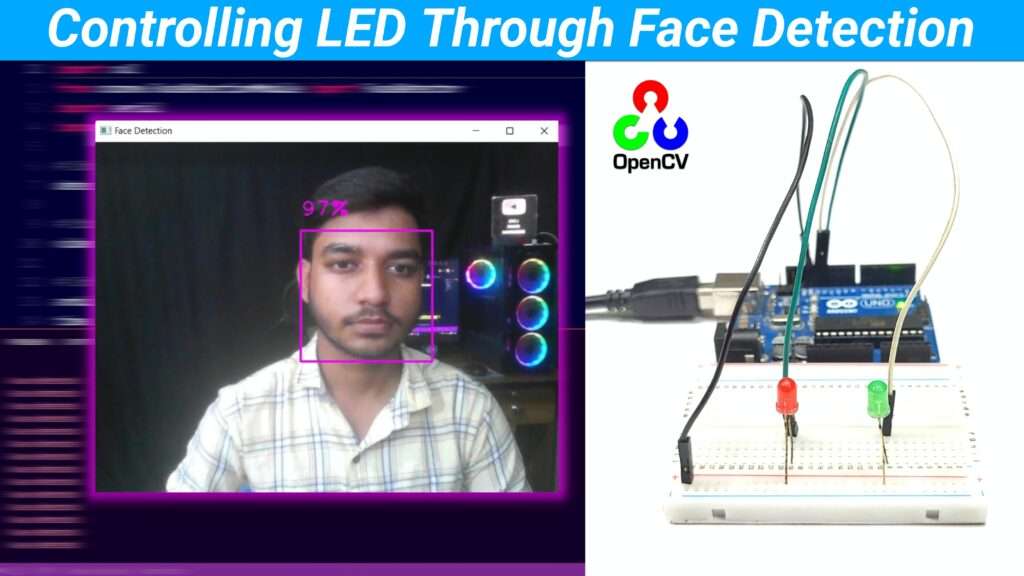
Hello friends, in today’s tutorial I will teach you how to control LEDs through face detection using Open CV python and Arduino. This is an amazing project, requiring only few hardware components to make it. So if you’re interested in electronics and computer vision then this project will be interesting for you.
Hardware Required
- Arduino Uno
Best Buy Link : Buy
Amazon Buy Link : Buy - Arduino Uno Cable
Best Buy Link : Buy
Amazon Buy Link : Buy - 5mm Green LED
Best Buy Link : Buy
Amazon Buy Link : Buy - 5mm Red LED
Best Buy Link : Buy
Amazon Buy Link : Buy - 220 Ohm Resistor
Best Buy Link : Buy
Amazon Buy Link : Buy - Bread Board
Best Buy Link : Buy
Amazon Buy Link : Buy - Jumper Wire
Best Buy Link : Buy
Amazon Buy Link : Buy
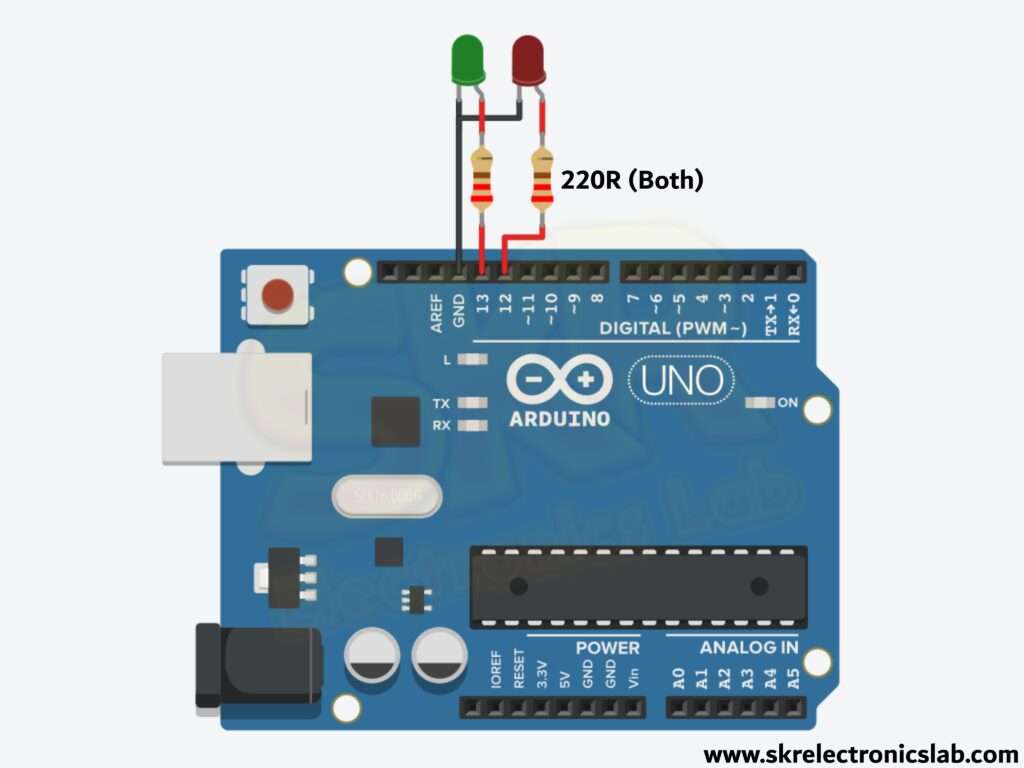
Circuit Diagram
Areduino Code with Explanation
int greenLed and int redLed :
These two lines define which LED is connected to which pin of the Arduino.
- int greenLed = 13;
Defines that the Green LED is connected to the Arduino 13 number pin - int redLed= 12;
Defines that the Green LED is connected to the Arduino 12 number pin
This variable will store the data which we will get from the Python program through the serial communication.
void setup() : This Function run once after the power on or reset. This function setups the Arduiuno pins and the serial communication.
- pinMode(greenLed, OUPUT);
This line sets the greeLed pin (13 no. Pin) as output. - pinMode(redLed, OUPUT);
This line sets the redLed pin (12 no. Pin) as output. - Serial.begin(9600);
This line starts the serial communication at the baud rate of 9600.
void loop() : This Function runs the given program continiously in loop.
- if (Serial.available() > 0)
This line checks whether there is any data available for reading from the serial port. If there's data, the Arduino proceeds to read it. - receivedData = Serial.read();
This line read the data from the serial port and store in the receivedData variable. - if (receivedData == '1')
If the recived data is 1 then it execute the program which is given inside of it.- digitalWrite(greenLed, HIGH);
It turns on the green LED. - digitalWrite(redLed, LOW);
It turns off the red LED.
- digitalWrite(greenLed, HIGH);
- else if (receivedData == '2')
If the recived data is 2 then it execute the program which is given inside of it.- digitalWrite(greenLed, LOW);
It turns off the green LED. - digitalWrite(redLed, HIGH);
It turns on the red LED.
- digitalWrite(greenLed, LOW);
Python Code with Explanation
- import cv2
It imports the Python Open CV library, Which is used for processing image and video. It help us to capture the image and video from the webcam and process frames and detect objects. - from cvzone.FaceDetectionModule import FaceDetector
It imports the FaceDetector class from the face detection module of cvzone library. -
import serial
It imports the serial library which is used to communicate with the Arduino through the serial port. -
import time
It imports the time library which is used for adding delays in a program.
This creates an instance of the FaceDetector class from cvzone. Which will be used to detect faces in the video frames captured by the webcam later.
This line initialize the webcam for capturing the video. If you are using default camera of your computer then the value will be 0, If you want to use another camera then you have to change the value.
- arduino =serial.Serial('COM4', 9600)
This line stablish the serial coomunication with Arduino. COM4 is the port in which the Arduino is connected to my computer for your case maybe it will be different. So,you have to check and change it with your port. 9600 is the baud rate. - time.sleep(2)
It provides a delay of 2 seconds, which helps to establish serial communication well.
- while True:
This is a infinite loop which will continiously captures the video from the webcam and process frames. - ret, frame = video.read()
video.read() captures a single frame from the webcam. ret is a Boolean value indicating whether the frame was captured successfully and frame is the actual image data (frame).
This line detects the faces from the captured frame using the findFaces() function.
- img is the image (frame) in which the detected faces are marked and bbox is the list of bounding boxes for each detected faces. If any face are detected then the bbox will contain data or it will be empty if no face are detected.
-
if bboxs:
It checks whether any face were detected or not. If bboxcontain any data (that means atleast one face is detected) then itwill execute the following code block. -
print("Face detected")
It prints Face Detected on the console. -
arduino.write(b'1')
It sends a binary data (b'1') to the Arduino and I already explained what the Arduino will do after getting signal 1. It will turn on the green LED andturn off the red LED. -
else:
If the bbox is empty thenno face are detected so it will execute the following block. -
print("No Face detected")
It prints No Face Detected on the console. -
arduino.write(b'2')
It sends a binary data (b'2') to the Arduino and I already explained what the Arduino will do after getting signal 1. It will turn off the green LED andturn on the red LED.
- cv2.imshow("Face Detection", img)
This will display the video with the detected faces with bounding boxes in a window.
- It checksthat the 'q'key is pressed or not. If pressed the it will brak the loop and the program will be stop.
- cv2.waitKey(1)
It waits for 1 millisecond for capturing a keyboard input.
- video.release()
It release the webcam for other program. - cv2.destroyAllWindows()
it closes all the windows of Open CV
Library Installation Code
Run this code on terminal toinstall all required libraries


How to do the hardware board
You can help me