Install Firmware via Web Flasher
Connect your ESP32 board via USB. Important: Hold down the BOOT button on your ESP32 board before clicking the install button below.
Select the correct COM port (often labeled as USB-to-UART bridge), then check "Erase Device" if prompted. Flashing takes about 2 minutes.
Complete Setup Walkthrough
Wi-Fi Initialization
Once the firmware is flashed, wait for the ESP32 to restart. A new Wi-Fi Access Point named XiaoZhi-xxx will appear in your network list. Connect to it.
Navigate to http://192.168.4.1. Select your home Wi-Fi network and enter the password.

XiaoZhi Dashboard Registration
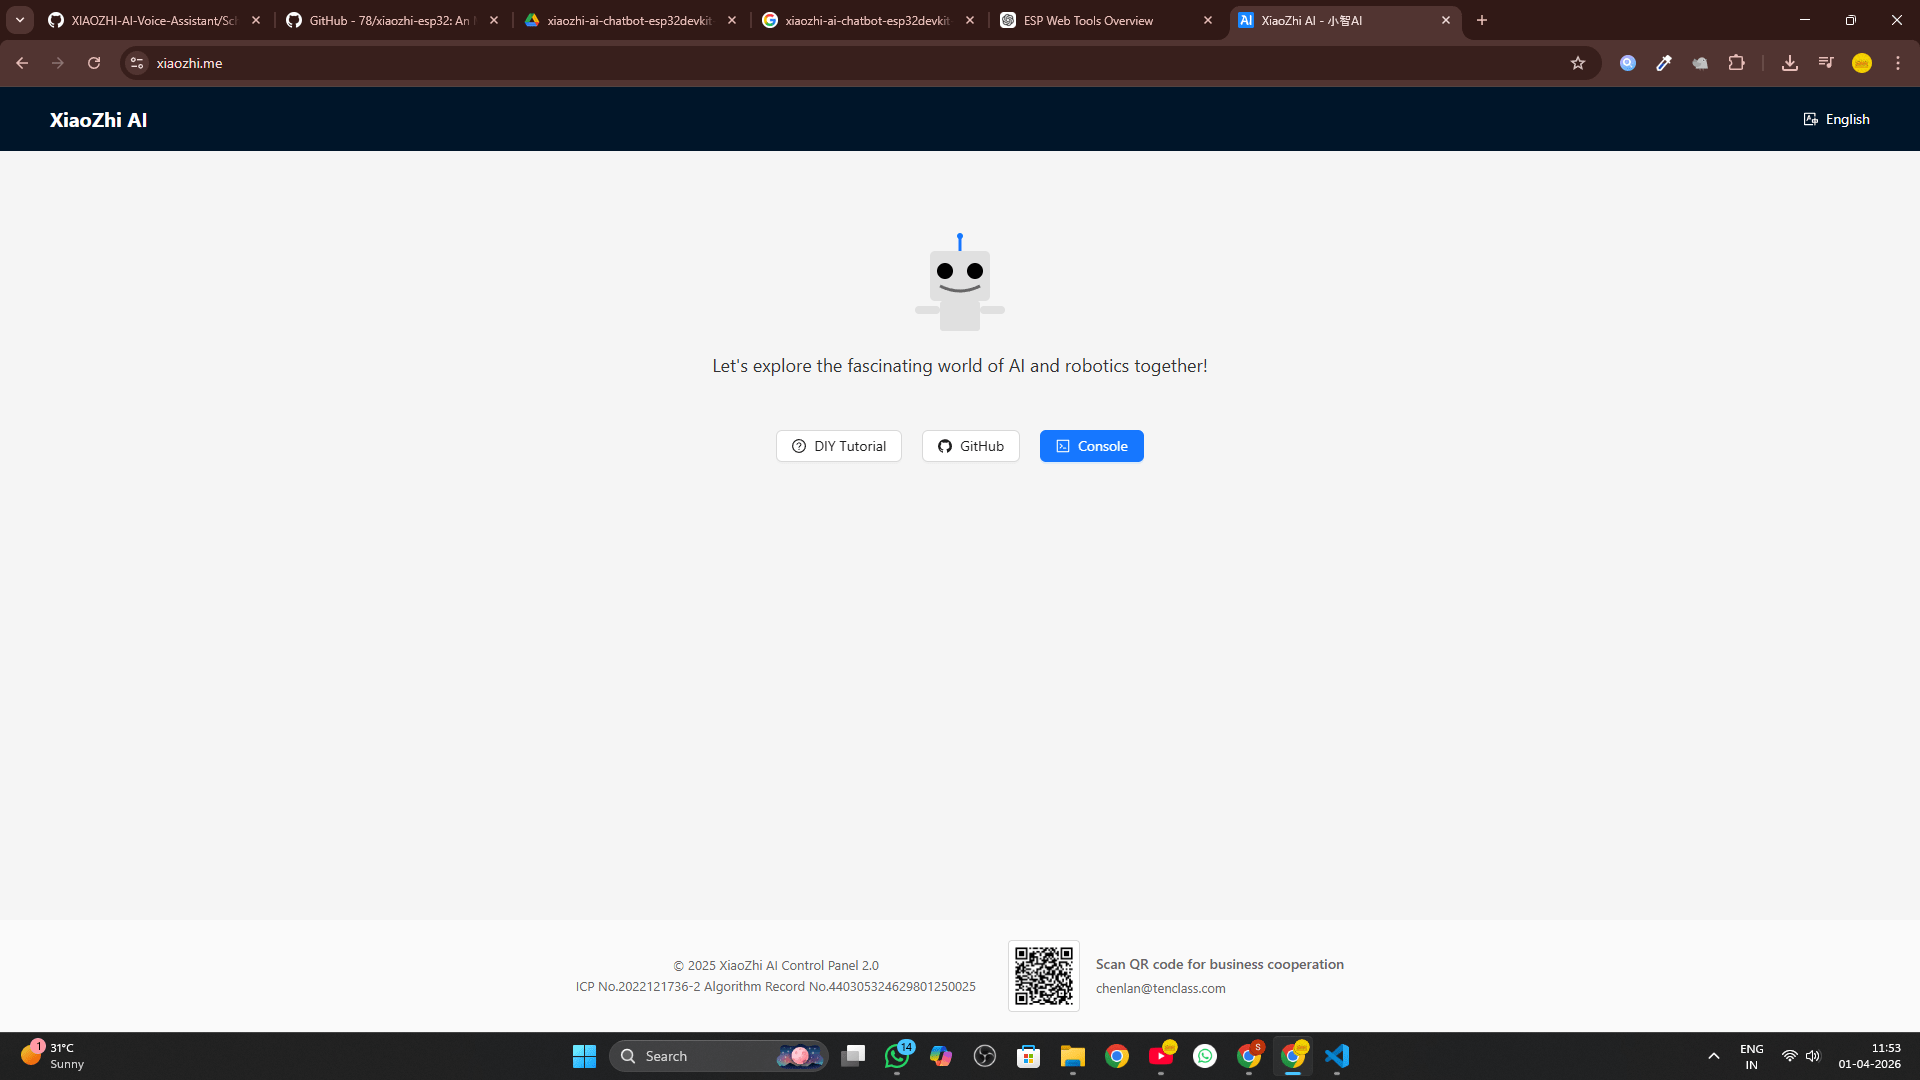
Once the device connects to your Wi-Fi, open a new browser tab and go to xiaozhi.me. Click on the Console button and sign up (Google Login is recommended for convenience).
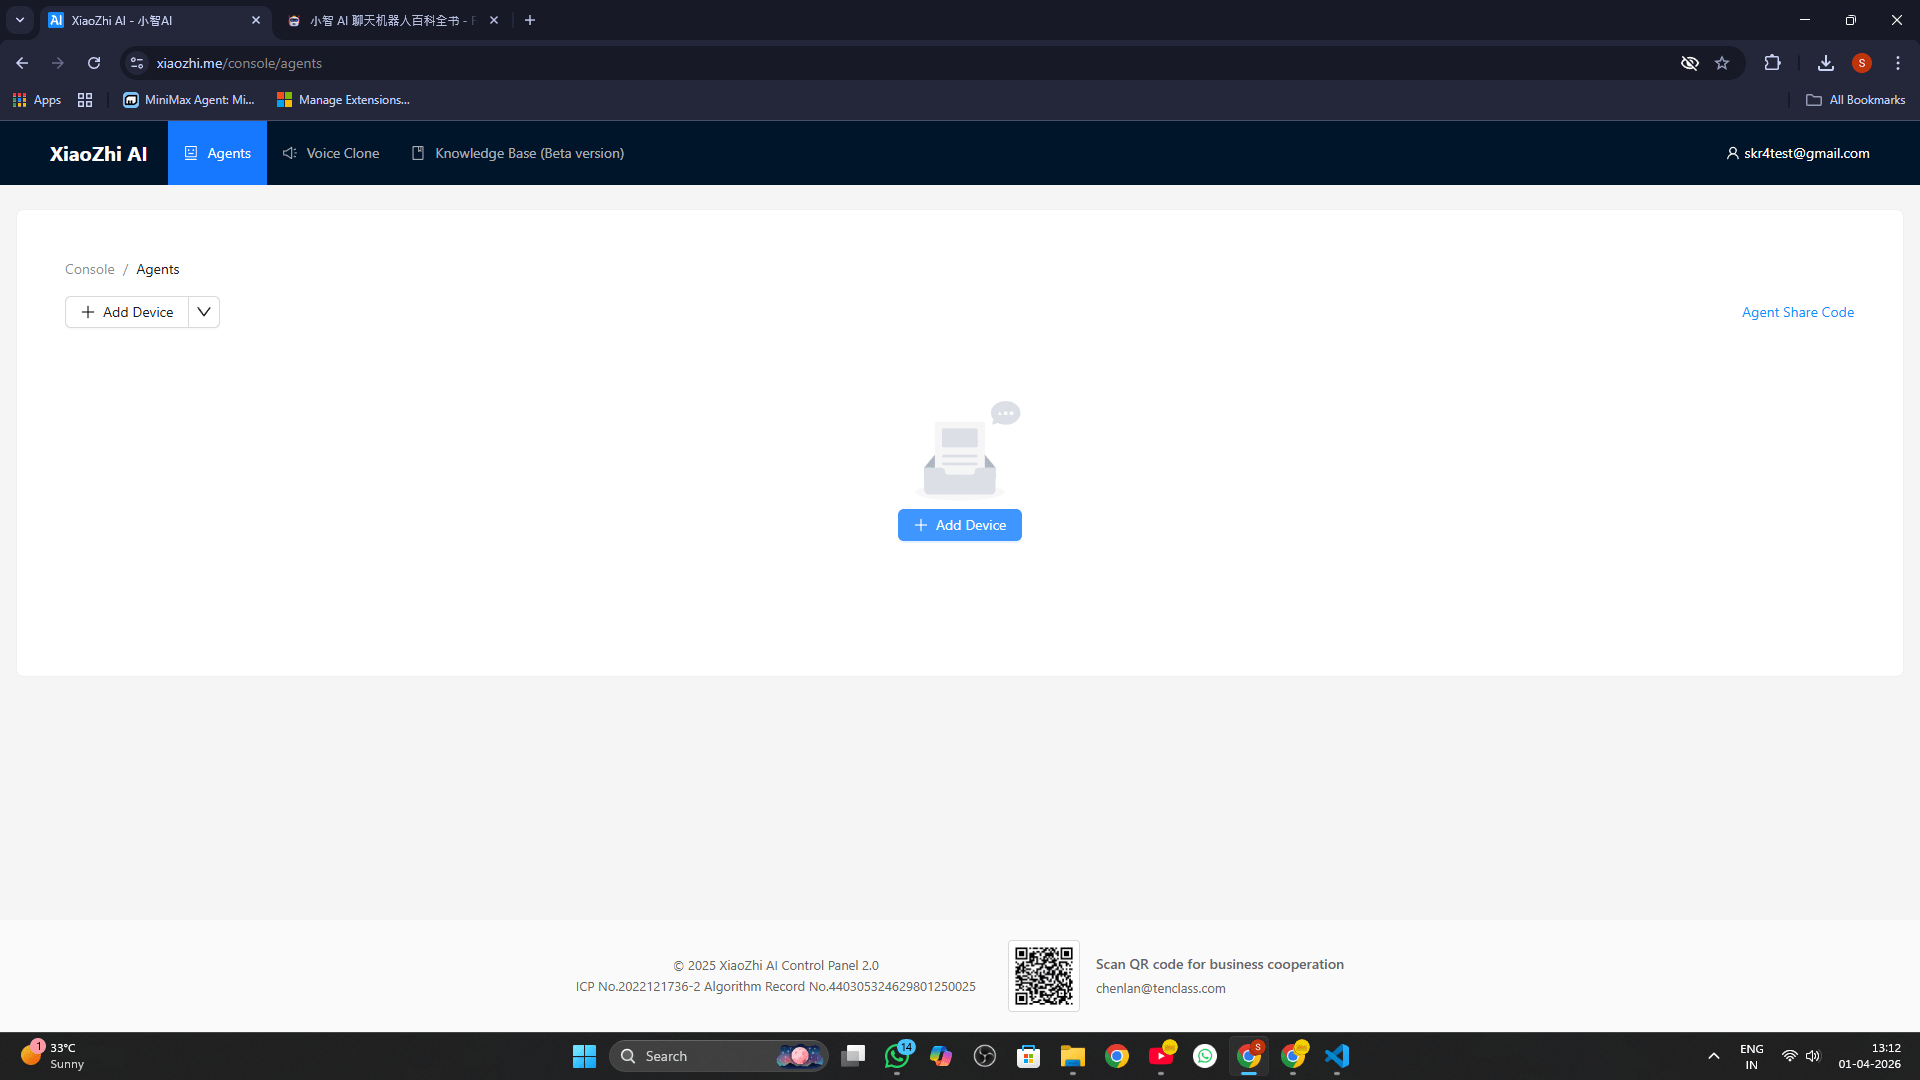
Pairing the Device
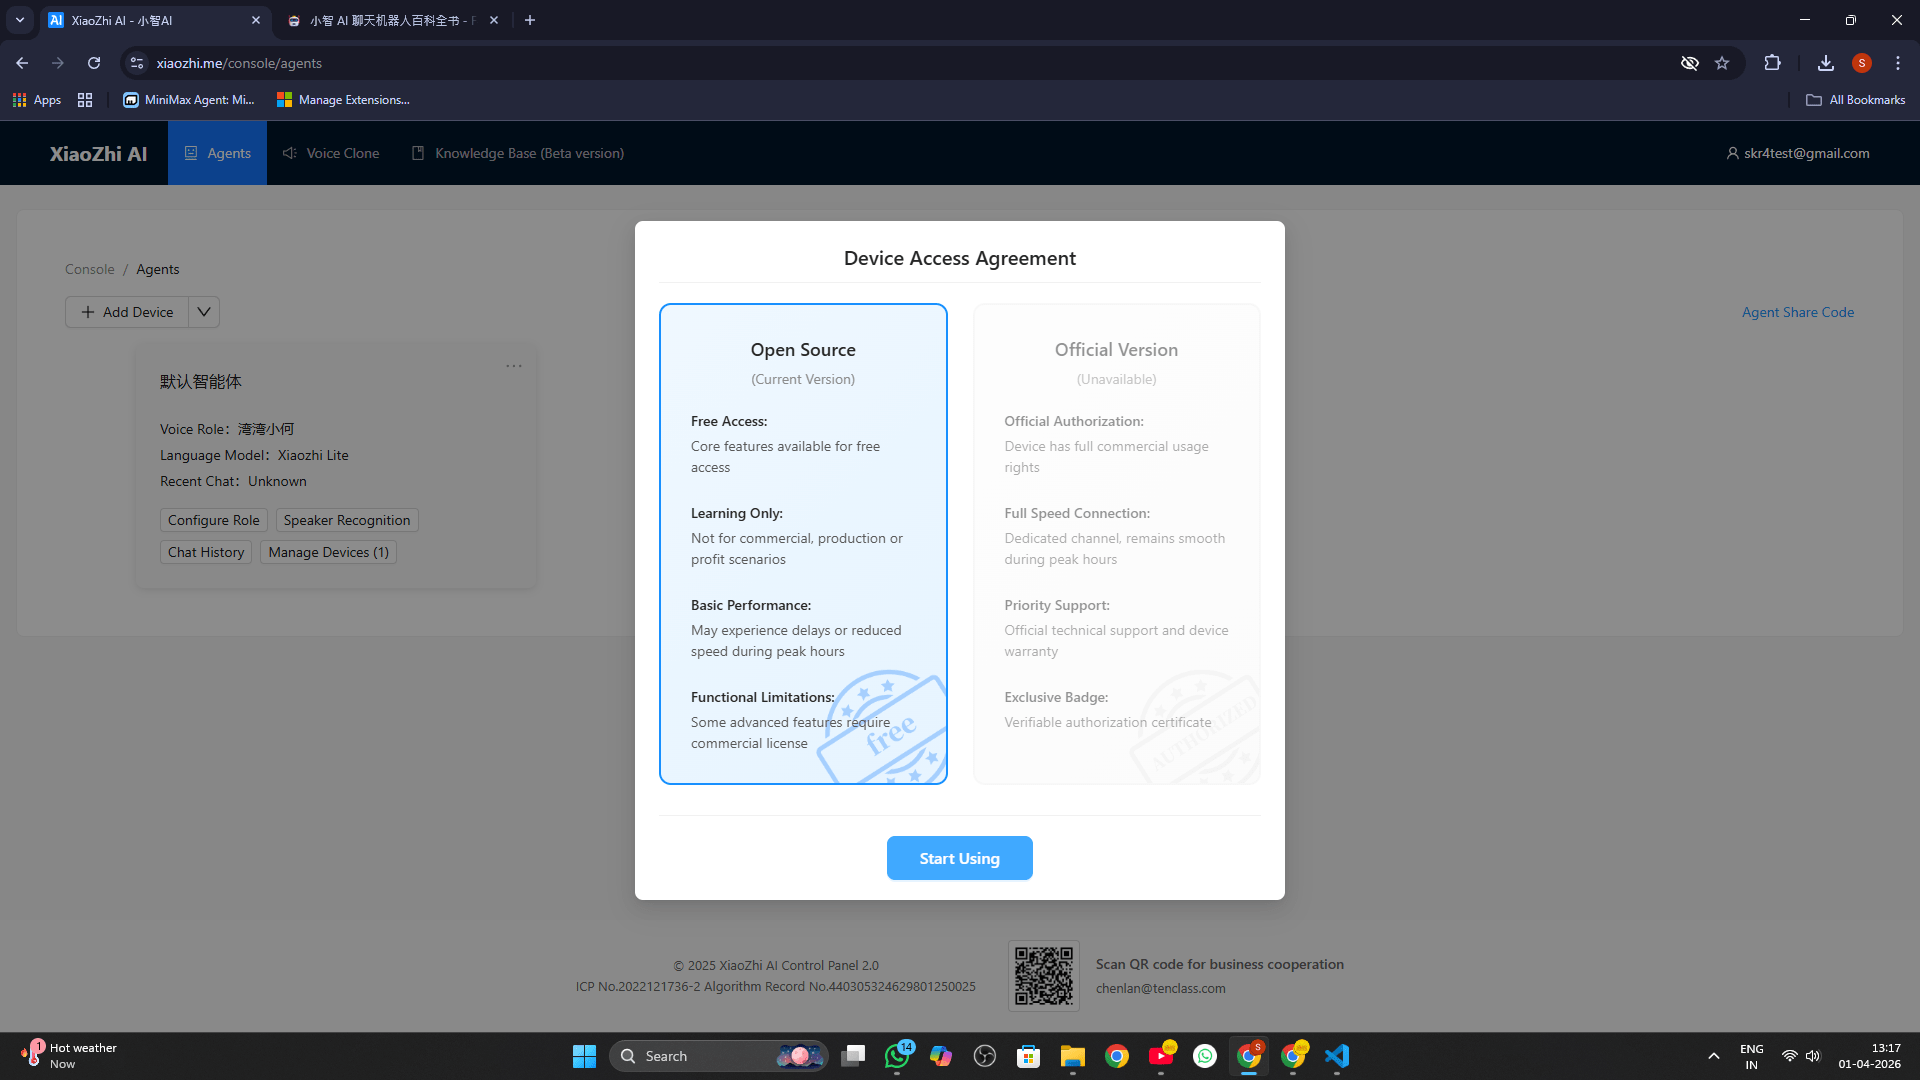
Inside the console, click Add Device. Look at the OLED screen on your ESP32—a pairing code will be scrolling across the display. Enter this code into the console field and click "Start Using".
Configure Master Role Introduction
The "Role Introduction" is the brain of your AI agent. Let's dynamically configure the perfect system prompt (under 2000 characters) by providing some context.
Restart & Enjoy!
Click Save at the bottom of the screen. Perform a hard reset on your ESP32 board to lock in the new identity. Press the BOOT button once to wake the agent up and begin talking!